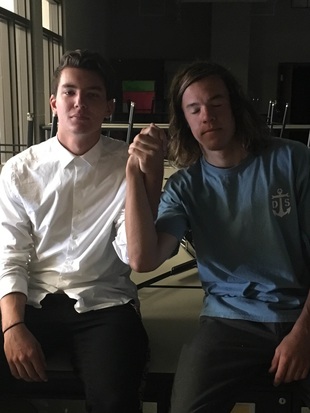
Alec Beckelman & Garrett Tinus
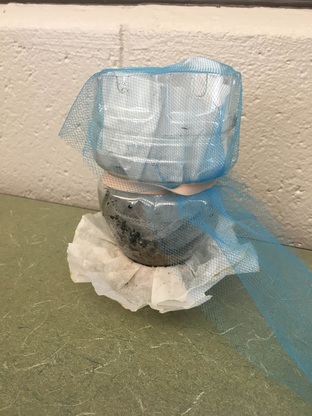
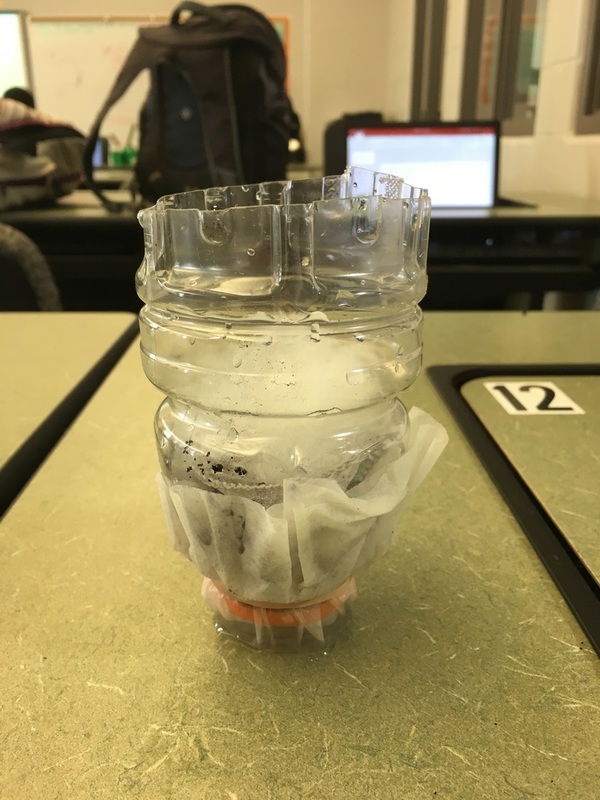
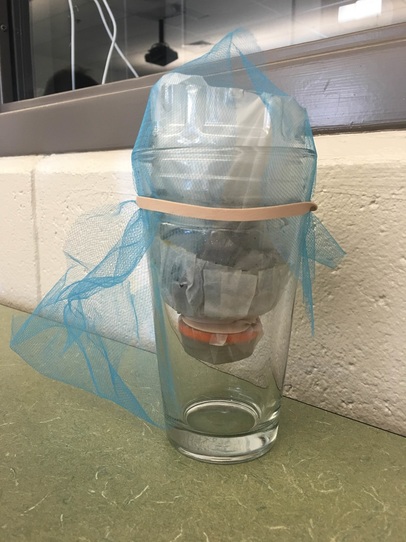
The Team and our final design.
|
|
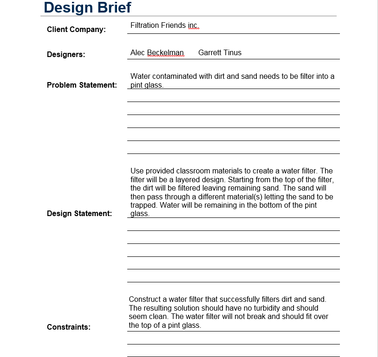
Defining the problem.
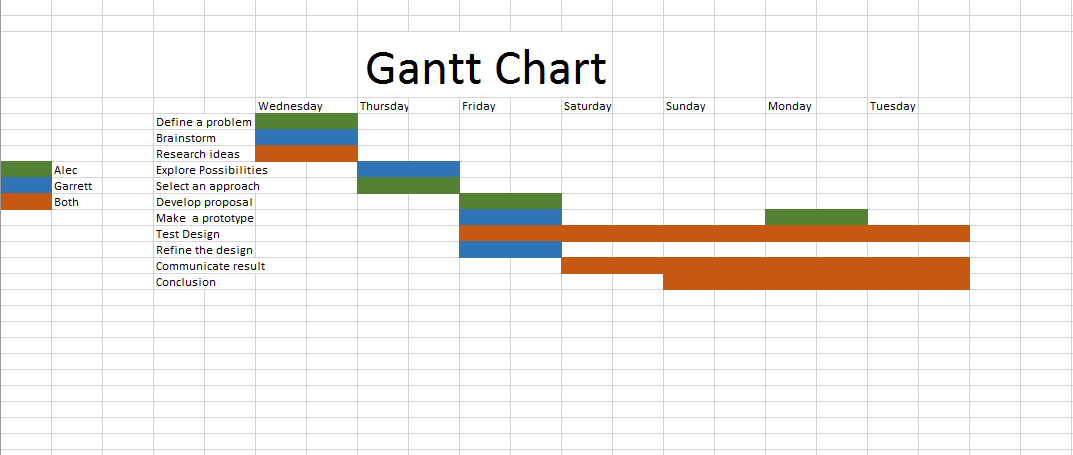
We made a gantt cart to make sure we had enough time to do everything necessary to complete the project while still using most of our time to make the filter as good as possible and leave time for errors in building the filter or wrong choices in material by leaving some of the work for us to do at home to use most of our class time on those types of things.
|
|
Brainstorming.
|
|
|
Research and generate ideas.
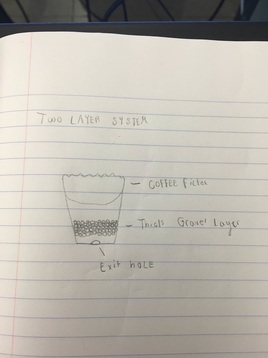
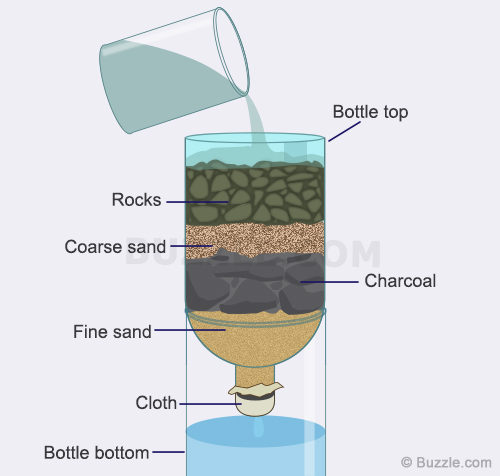
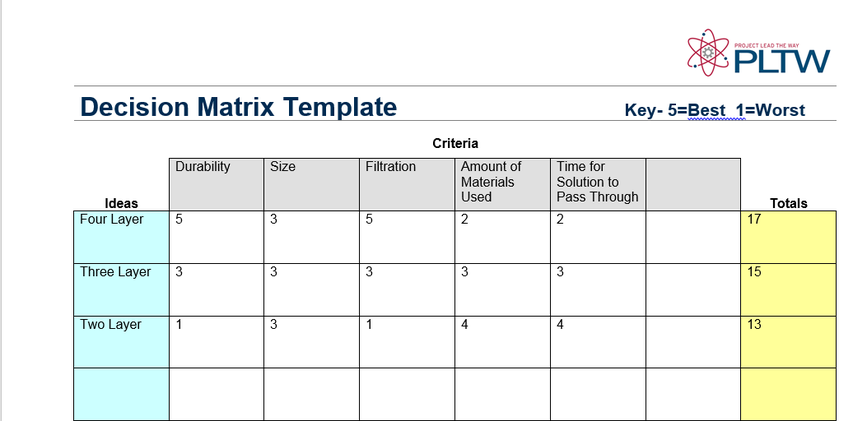
Pros: The durability of this filter is better than the oter two. With the cloth being thicker and wedged in the cap, this allows for the cap to be removed and placed back on. With this feature, any water left while not in use, will stay contained in the bottle. The time for the solution to pass through is probably quick as well.
Cons: Materials may mix together after water filtration http://all-about-water-filters.com/top-easiest-diy-water-filters-you-can-make-at-home/
|
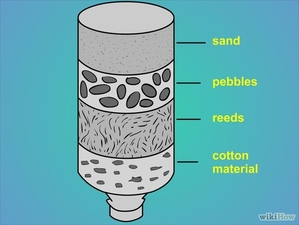
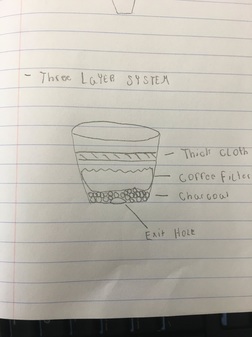
Pros: The bottom cotton layer will be able to catch any bigger specimens that are remaining. Also, there is not a lot of cloth material which will keep the filter from becoming soggy.
Cons: The reeds many not stop debris depending on how many there are. This design may not filter the solution as well as other designs depending on the size of the sand and rocks. http://ves-mir.3dn.ru/news/kak_filtrovat_vodu/2015-05-19-2697
|
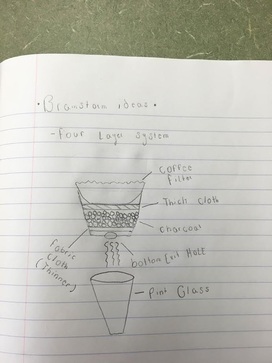
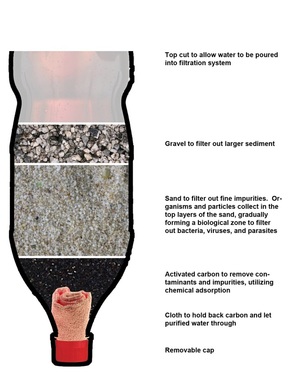
Pros: Two types of sand with other materials in between each will most likely effectively filter the solution. With cloth covering the bottom of the bottle, there is no need for a cap. It can be hard to create a hole the right size when keeping the cap in place. This filter will also be quite durable with the selected materials.
Cons: Although this is not as important as other cons, the time for the water to pass through the filter will most likely take longer since there is two types of sand being used. The bottom cloth will have to be replaced often. http://www.buzzle.com/articles/homemade-water-filter.html
|
Explore Possibilities.
Turbidity value: 153.9
|
Turbidity value:155.4
|
Turbidity value:203
|
Turbidity value: 328.7
|
Turbidity value: 301.9
|
Select an approach.
Develop a design proposal.
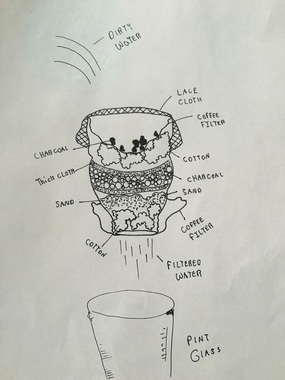
Make a model or prototype.
|

|
|
Test and evaluate the design using specifications.
Turbidity Results: 154.3, 162.0, 124.6, and last and our best test 53.4
Data Summary: The speed of getting water from the filter is important, however this took away greatly from the actual reduction in turbidity we were trying to achieve. So for our final design Garrett and I added some more cotton and sand, and a little thicker charcoal on top, this slowed it down very slightly and made the water have less than half the turbidity of our previous test. So our system still was very quick, and almost reached the under 50 goal.
Data Summary: The speed of getting water from the filter is important, however this took away greatly from the actual reduction in turbidity we were trying to achieve. So for our final design Garrett and I added some more cotton and sand, and a little thicker charcoal on top, this slowed it down very slightly and made the water have less than half the turbidity of our previous test. So our system still was very quick, and almost reached the under 50 goal.
Refine the design
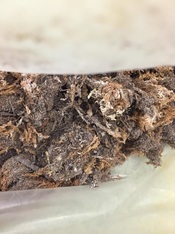
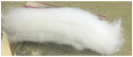
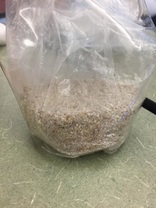
Some of the first changes to our design came when we figured out that charcoal had the greatest impact on turbidity out of all materials ( not including the coffee filter ). So from then on our focus was to use the charcoal and coffee filters and small cloths as separators to clean most of our water. However the use of only the charcoal was not good enough so we went out to see what other materials were helpful, the cotton was very helpful in picking up some of the thicker debris in the water and bringing the turbidity down a great deal. The sand also played a major roll because once we added the sand and new filters and new charcoal our filter was worlds better than it was before, it was the one item we needed to add and it helped a great deal.
Communication process and results
PowerPoint:
Conclusion/Reflection
Creating this filter had its challenges, for instance right when you believe your design is making very nice clear water... CRASH your coffee filter broke and now you have to make changes so it doesn't happen again, which is if all of the parts didn't fall out. Also when certain materials do great yet when you add more of those materials and it makes it worse. Everything was about balance and having a good amount of different materials in your arsenal. If I was to do this project over again, I would have taken a step back from the obvious filters people made, and tried something a little more out of the box like Wyatt and Emma's project ( which was my favorite one by the way ). Or if I took the route I chose which was the more obvious one, I would have liked to figure out how much of each material was useful earlier so my partner and I's design would have been more efficient and caused a less turbidity than we eventually had ( 53.4 ). Dividing work between you and your partner becomes essential, because with a tight time frame to get everything physically made and everything uploaded to your website is a lot, however if you manage your time even just a little time management makes this project so much easier, team work was key! Overall though this project was great, the class overall enjoyed making them and I look forward to all of our future projects.
